One of the key elements to any interior design project is lighting. Layers of lighting create different moods and tasks which is what can help create “depth” in a room. What do I mean by layers? Imagine when you walk into your kitchen ( and I am generalizing here), you turn on your overhead lights (today, normally pot lights) which are for “task” lighting. Next, you may switch on the accent pendant lighting, which is strictly for decorative purposes. Then you walk over to your counter and you turn on your under cabinet lighting to help you see what is on your counter top. I just explained 3 basic ways of layering your lights. Generally, they are all on separate switches, even perhaps dimmers, to aid in the function of the room.
Now, imagine having to make a plan for all these layers for each room in your house, also including your plugs, and switch locations. Well, luckily for me, I do this regularly for many people so I am somewhat spoiled in the light planning department. This is a good and bad thing; good because I know what works and what I want, but bad because what I want costs a million dollars to install! Yes, nothing in your electrical costs will be cheap, I can promise you that. However, if you ask me, it’s what makes a room stand out!
Some tips when thinking about your lighting layout…I will only skim the top as to not bore you…
* Imagine yourself walking into the space – Which way do you turn when you go to turn on the light? Consider what you have now, and why you like it or hate it. Apply the good to the new project. Where will your furniture sit? Where will you have lamps and plugs for those lamps?
* Think about 3 way switches and dimmers – some rooms work better to have 2 switches that work on the same light fixture for convenience sake. Dimmers also can change the mood lighting instantly, and inexpensively. Consider these as well.
* Pot lights spacing – Pot lights are usually used for task lighting and are generally 3-5 ft apart, maximum. Usually these lights run from $100-$150 installed, so this is where it gets pricey!
* Walk around with your electrician – Make sure to do a walk around your house with electrician so you are both on the same page. Better yet, draw on your walls and ceiling exactly where you want things to go, and that should help (but not always).
That’s a short lighting lesson for you folks. Check out what the inside of my place looks like right now after the electricians ploughed through for all the rough ins.
 |
| Knob and tube was found in some parts of the house. Luckily, it was only in a few spots and has be de-activated. |
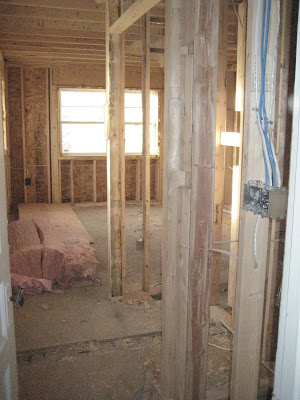 |
| Entrance into master bedroom. Windows are in too! |
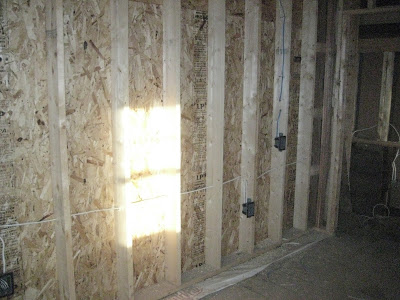 |
| This is my bed wall. Consider putting a switch by the bed so you don’t have to get out of bed to turn it off at night. It’s a small luxury! |
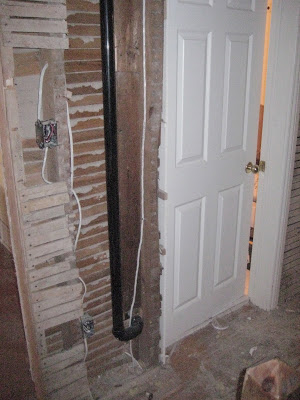 |
| The lathe on the walls is slowly disappearing. All outlets and switches are all up to code. |
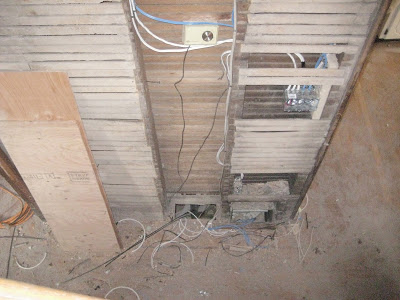 |
| This would be the “hub” of the house. It’s in the main hall where the switches, heating and thermostat will all be housed. |
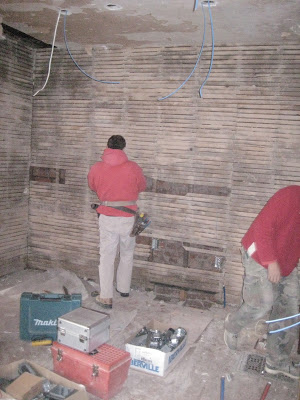 |
| Electricians are electrifying the kitchen! |
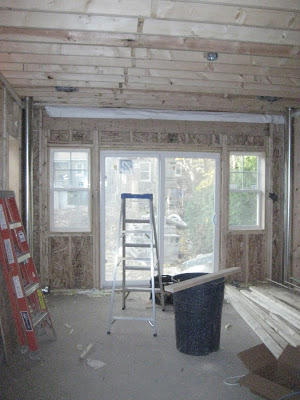 |
| Look at the doors and windows! And I have put a ceiling fixture in the living room for a fancy chandelier one day. Also, pot lights aroundthe perimeter. |
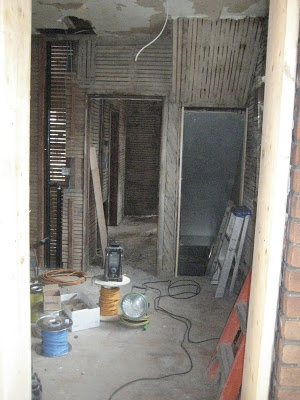 |
| Wires and cable. Wires and Cable. (View from the new living room into the kitchen/front hall) |
One key place I forgot was my laundry area in the basement. I overlooked it in the process, but luckily, in the second step of the electrical plan, they come back after drywalling to install everything. This is when I will ask for my oh-so-needed laundry “room” light.
If you have any lighting questions, please ask! It’s a tricky art to make a room function yet beautiful. Lighting is your friend and one easy way to create drama and impact!
Happy Reno Reading!
Krista
This is so exciting! Let there be light! One step closer to making this project a real home 🙂 Good tips about what to consider when adding lighting to a space – it's so important to have the switches located in a logical location…switches behind a bedroom door? Switches on the opposite side of the room's entrance? So silly! Thanks for another great post.
*Tania @ Passport2Design.com